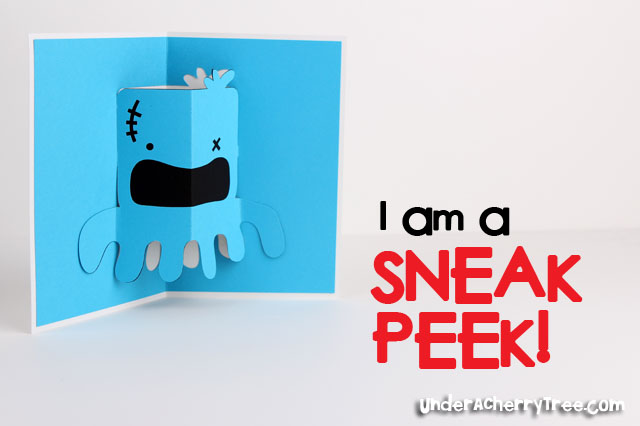
Happy Monday! As promised, I am going to show you how the cards in the All Seasons Pop-Up Cards set look like when they are put together.

The All Seasons Pop-Up Cards set includes 9 pop-up cards, 3 card bases, and 9 super cute images for you to decorate your card front. Before I show you how the cards look like when they are "popped-up", let me show you how I assembled the cards.
1. Cut out the inside pop-up layer and the card base. Adhere the two layers together.

2. Using the pre-cut score lines as a guide, score.

3. Fold and crease well.

4. Open the card and pop out the image by hand.

5. If needed, score further.

6. Carefully fold and crease.


7. Open and admire!

Here are the cards that I've put together.


I cut out all the layers with Make-the-Cut and my Silhouette SD. One of the best things about using Lettering Delights with Make-the-Cut is that I can easily make some adjustments to give the cards a different look. In this case, I removed the face of the Christmas tree and added 2 colored layers. Do note that it is not advisable to add more than one layer on top of the pop-up layer as it can make it hard to pop-up.
Tomorrow I will be showing you some of the cuts that I've made with the Best Witches set that is also in my Fall Picks bundle. Don't have my bundle yet? Just get it by clicking HERE.

Pin It