

If you are just joining us in this series, you have missed the following chapters:
Today I will show you
How to use Shadow Layer and Align in MTC.
I love making little shaped note cards. They are easy to make and you can make a lot of them in very little time. I like to sneak these note cards in my kids' lunch bags sometimes because I know that they've always enjoyed the surprise.
Note cards that I have made with Lettering Delights graphics include:


Today, I will show you how to make a Penguin note card using the Shadow Layer feature in Make-the-Cut.
You will need:
Note cards that I have made with Lettering Delights graphics include:
and
Today, I will show you how to make a Penguin note card using the Shadow Layer feature in Make-the-Cut.
You will need:

- 1 sheet of black cardstock
- 1 sheet of white cardstock
- 1 sheet of colored cardstock (I'm using blue)
- 1 pair of googly eyes (1 large, 1 medium)
- glue
- foam tape
- DB Animal Occasion Doodlebat font from Lettering Delights
If you do not already have the widely popular DB Animal Occasions doodlebat font, you can go here and add it to your cart. Follow the instructions to check out and download the font to your computer.
1. Open MTC and load the doodlebat font the same way as you would a true type font. This is shown in yesterday's tutorial in Step 8. Scroll down the side bar to see the images.

2. Double-Click on the penguin to bring it to the mat.

3. With the Lock Aspect Ratio on, re-size the penguin by changing the width (W) to 4". The height (H) will automatically adjust.

4. Make a Shadow Layer by right-clicking your mouse, select Shape Magic, followed by Shadow Layer or using Ctrl-H or by clicking on the Shadow-Layer button as pictured below:

5. Move the slider bar to set the Shadow Width. I used 0.1000". Click on Apply Blackout and Accept.

6. Remove the blue bounding box by clicking elsewhere on the mat and separate the Shadow Layer from the penguin. Let's call this first shadow layer, A.


7. Select A and make a Copy of it by using Ctrl+C (hold down the Ctrl and C keys together). Paste it back onto the mat by using Paste-in-Place (or Ctrl+Shift+V). Now you have two copies of Shadow Layer A with one laying over the other. Separate the two copies of A by dragging one copy out to the right. Let's call the left copy B.

8.Move your cursor to select B. Use Ctrl+M to make it into a mirror image of A. Put the two copies side by side. They do not have to touch but they must not overlap.

10. Align the two layers so that they are sitting on the same level. To do this, select both copies of the shadow layers by "drawing" a blue bounding box around them. You can do this by moving the cursor/caret to one corner of B and while holding down the left mouse button, drag the cursor out so that the box is extended. Next, right-click and select Align and Space, followed by Align, then Horiz. Center.

11. Make a shadow layer of A and B to make the card base by selecting both and using Ctrl-H. Set the shadow width to be about 0.2500". Click Accept.

12. Click outside the blue bounding box and back on to Layer B. Delete it by pressing the Delete key on your keyboard.

13. Select the penguin and click on the Layer button. The two layers of the penguin have just been created.

 14. Separate and arrange all the layers of the penguin note card. If you find that there are too many layers to fit on one mat, you can move them so that they are on 2 pages instead. Just add a page and use Cut and Paste-in-Place to move some layers to a different page.

15. Before cutting, remove any excess nodes by selecting each layer and doing a Ctrl+Shift+Z. Keep doing this on the layer until you see the message "This path cannot be simplified any more than it already is", before moving on to the next layer.


Here is a video tutorial for those of you who prefers videos.
16. Load cardstock and mat into the Cricut and cut.
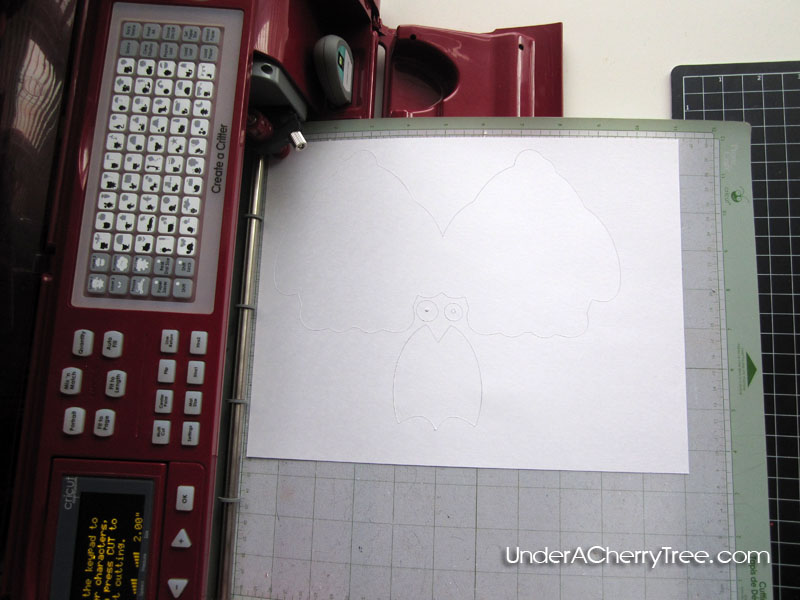

17. Remove all the cut outs and assemble the note card using glue and foam tape and Voila! Your note card is done!

See? 'Told you it was that easy! :-)


See? 'Told you it was that easy! :-)

Pin It
Wow! Your tutorials are so detailed! Thank you so much!
ReplyDeleteLisa
prettypaperprettyribbons.blogspot.com
Jin,
ReplyDeleteAnother Great Tut!!!!!
Told you I would learn something New. I didn't know about the layer feature. Less work using this button.
Thanks so much!
Linda
Wondered how you made your little note cards. I have my elephant one sitting on my work desk. Thanks for another great tutorial. You are amazing.
ReplyDeleteFAB-YOU-LOUS! LOL I know that's not how you spell fabulous, but YOU are fab! Thanks for this tutorial!
ReplyDeleteThat is amazing. I'm learning things that I didn't know MTC even did. Your instructions are very easy to follow.
ReplyDeleteAwesome! I've never made a shaped card this way. I'm definitely going to try it since it looks much easier! How exciting to learn something new!
ReplyDeleteLove the new series!! Keep it up lady!
ReplyDeleteI HAVE to do this, I've wanted to make your little elephant note cards FOREVER and I bought the set and everything and just haven't done it. I will have to try soon :)
ReplyDeleteThank you so much for doing this wonderful tutorial session. You are awesome!
ReplyDeleteI am learning so much--so many little tips and tricks. I really appreciate it!
Well I'm doing it. I used your photoshop and this tutorial to make a file for bird shaped cards from a graphic (didn't have the doodlebat I wanted). I'll let you know how it turns out. wish me luck! lol
ReplyDeleteYay! Go, Gale, Go! You can do it! :-D
ReplyDeleteJin, Thank you again for this tutorial. I made the penguin card and also the little dinosaur from this same DB set. I loved learning this--so easy and fun! I also loved the tip about simplifying the nodes.
ReplyDeleteI know this must be alot of work but I'd love it if you'd do some advanced tutorials--especially one for Print and Cut as I find that hugely challenging:-)
Thanks Jin! I just gave this a try and I did it. I am so happy to be learning how to use MTC. I hope to post my cards on my blog later this evening if you would like to check it out. Great work!
ReplyDeleteWhitney
http://whitneyssanityoutlet.blogspot.com
WOW Jin - this was such a cool tutorial. I have just discovered that Andy is going to make MTC compatible with the ecraft! Sooooo excited, so thought I would have a little play before I buy it! THANK YOU SO MUCH!!! This is so much easier than using inkscape!
ReplyDeleteRx
Thank you so much for your instructional tutorials and especially the videos! You are taking the mystery out of using MTC for me.
ReplyDeleteGreat Tutorial! Thank You!
ReplyDeleteThank you for such detailed instructions and videos ...you do make it look easy .
ReplyDeleteThank you for the great tutorial. :) I made up four different kinds of animals today!
ReplyDeleteThank you for showing. Your tutorials are wunderful i learn so much.
ReplyDeleteGreets
Hello,
ReplyDeletethis is my project with this great tutorial:
http://sabinafk.blogspot.com/2011/06/rak-card-swap-club-june.html
Greets and have a nice Sunday