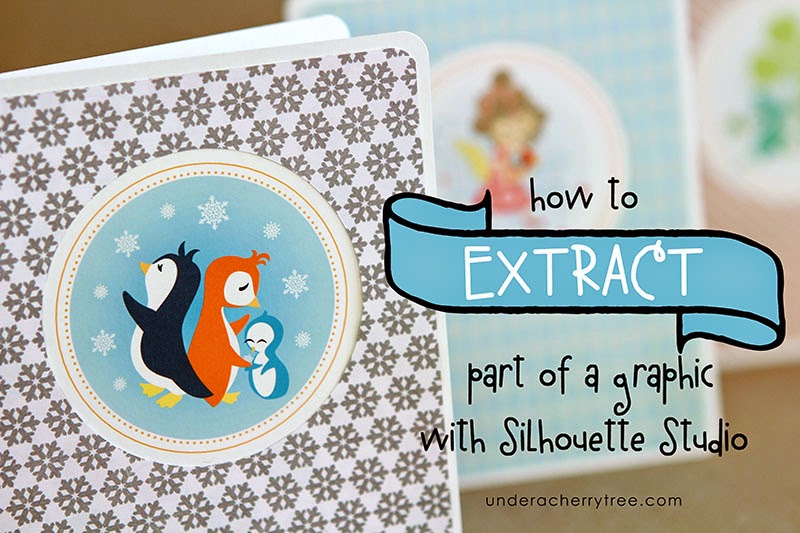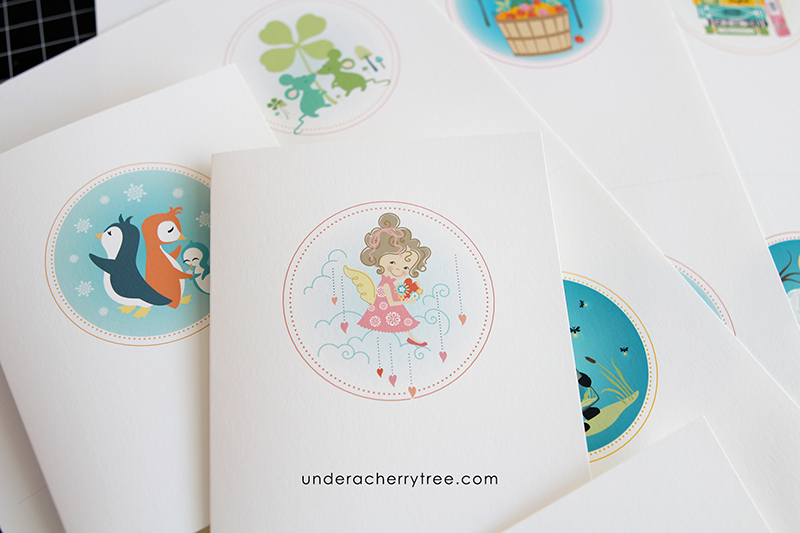
I love the new calendar by Sheri McCulley. I had fun making flip-top calendars but I want to get more out of the set; the art is so pretty it would be a waste to use it for a single purpose. I think they'd be great as cards too. In order to use the images for cards, I had to first extract them from the calendar.
Using Silhouette Studio Designer Edition (v2.9.45d aka Legacy version), I imported the calendar into the program.
I drew a circle with the Circle Tool and placed it over the part that I want to extract.
I adjusted the size of the circle (Just eyeballed it!) and centered it over the image.
Once I am happy with the position of the circle, I extracted the design by first selecting both the circle and the original graphic, and applying the command Modify>Crop.
All that is left is the extracted image. Yippee! Now I can use it to make cards, sticker labels, or anything else that I can make with a graphic.

If today's tutorial seems familiar to you, it is probably because you have previously seen my "How to Crop" tutorial. Both sets of instructions are actually exactly the same. The only difference is that I used different graphics for the projects. If you had missed the "How to Crop" tutorial, just click HERE to see it.
Let's get croppin'!
File used:
Holiday Events 2015 Calendar


Thank you for sharing this great tutorial!
ReplyDeleteYou're welcome! Hope you find it useful. :)
DeleteThanks, Jin, for another great tutorial. I appreciate you're still using the Legacy version, too, as I haven't seen any compelling reason to upgrade.
ReplyDelete- Kris in Edmonds, WA -
I'm the same. Until there is something in V3 that I must use, I'm sticking with V2. :)
Deletethese are really pretty Jin...can you tell me where you got that snowflake paper? its really nice color/pattern
ReplyDeleteSure! The snowflake paper is from Echo Park's Home for the Holidays. I used the 6x6 paper pad. :)
Delete