
This tutorial was originally made as a video response to a question posted by a reader of this blog. Betsy wanted to know how I made the treat box from the post HERE.
To clarify, all LD SVGs are in fact, already print-and-cut-ready. No modification is required. To print-and-cut an LD svg using the Silhouette Studio (DE) program, just import the file, Ungroup the layers and set only the base to cut. This is explained in the post HERE.

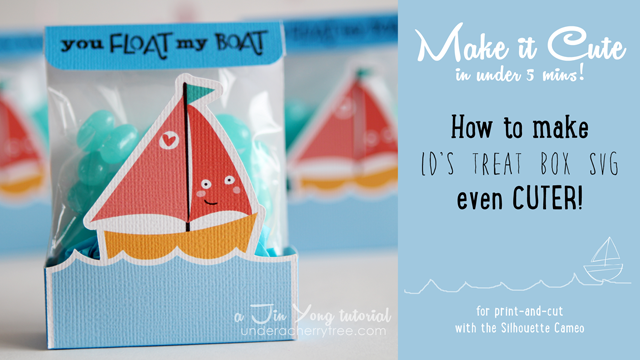
Likewise, the treat box from the Hooked on You cut it project (SVG) can be easily used for print-and-cut without any modification to the file. However, I wanted it to look cuter and so I added a white border around the front side of the bag. Specifically, I wanted a white border around the sailboat and the waves.

I found that there are several ways of doing so and the method illustrated in today's post is just one of them. I apologize that I went faster than usual in the video tutorial below but I was trying to keep it under 5 minutes. Please hit the Pause or Rewind button if the instructions in the video go too quickly for you.
http://youtu.be/ecXY6y-mqEk
As shown in the video, I used the Object>Modify>Subtract command to modify the black layer so that the bottom (wave) portion is cropped off. This is because the offset of the original layer makes the front side of the box too big for it to be folded right. The white border (offset) must only go around the sailboat so that the box can still be folded correctly.

As indicated in the video tutorial, I moved the light blue layer up one notch before using the Object>Modify>Subtract command. This is because the light blue layer is a hair smaller than the bottom part of the black layer. If I did not move the blue layer up, using the Subtract command will result in a lot of artifacts. Those messy little bits will affect the look of the resulting offset. By moving the light blue layer up a notch, the resulting offset is a lot neater.

Betsy, I hope this answers your question. :-)

You are awesome!!!! I got it!!!!
ReplyDeleteXOXOXO
Betsy
Awesome tutorial as always!
ReplyDeleteDeb Crowder