

If you are new to LD and Silhouette Studio, today's tutorial is for you! I made this specifically for those of you who have not used an LD SVG with your Silhouette machine before. You will need the Designer Edition Upgrade for your Silhouette Studio program in order to follow today's tutorial because the free Silhouette Studio program that came with your Silhouette machine cannot import SVGs.
For today's demonstration, I will be using my Silhouette Cameo with the LD Slumber Party Cut It set. All of LD's Cut Its include the image in several formats (.ai, .dxf, .eps, .gsd, .svg) and I will be using the .svg file.

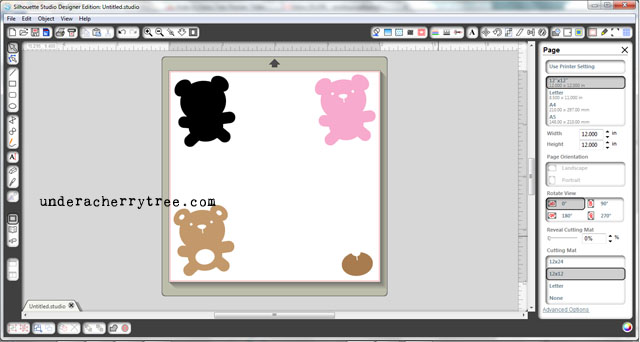
In Silhouette Studio (Designer Edition), you can bring the image onto the virtual mat by using the File>Open commands but I like to drag and drop the file onto the mat.

Before you can separate the layers, you need to Ungroup the image. Just right-click, Ungroup or you can use CTRL+U.


Next, drag the layers out to separate them.
Before sending them to the Cameo to cut, make sure that the cutting lines are turned on. Just select all the layers by using CTRL+A, open the Cut Style Window and select Cut.


Now click on the Send to Silhouette button.

Place your papers onto the cutting mat and make sure that the LCD screen on the machine shows that Load Cutting Mat is selected. Press the Enter button on the machine to load the mat into the cutter.


From your Silhouette Studio program, choose the appropriate settings (Speed, Thickness) for the type of paper that you are cutting and click CUT. The Silhouette Cameo will begin cutting.

Once the Cameo has finished cutting, unload the mat by pressing the Enter button on the machine.

Carefully remove the cutouts from the mat.


Adhere the layers together with the adhesive of your choice.

You can use your finished piece for your crafty projects. I used mine to make this:

I hope that you find today's tutorial useful. Here's the video tutorial for those of you who prefer watching the demo in action:
http://youtu.be/eaxH3dqk6Bs
---
Files used:
LD Slumber Party Cut Its
Peacocks and Pinwheels Cut Its
Slumber Party Paper Pack
LD This and That font
Thanks Jin, this is a wonderful tutorial!
ReplyDeleteCute!TFS
ReplyDeleteHave a wonderful day,
Migdalia
♥ Crafting With Creative M ♥
♥ 2 Creative Chicks ♥
Cute card to share. Thanks!
ReplyDeleteAs always great tutorial!!! Thanks for sharing and showing me a great future card with the bear...I forgot I had that cut :)
ReplyDeleteHi girls! I lost my installation cd with Designer Studio software.
ReplyDeleteDo you know if I can order it with data from my purchase, or if I have to buy it again? because who sold it (by Amazon) to me will not give me another copy... i change my old pc to a new Mac and need to install again. Thanks for your help!
You can download the Silhouette Studio program from the Silhouette America website here: http://www.silhouetteamerica.com/?page=software
DeleteHi Jin what is the name of the card stock you used thank you.
ReplyDelete