Lately I've been a little obsessed over a free dingbat font that I found online. I liked it so much that I have been slowly converting the clipart into layered images. If you follow me on Facebook, you would already know that I have been playing with the MTF Sweet Halloween Dings because I have been posting a photo each time I finish converting another image from the file. Many of you already know how to make layered cutouts from a clipart. For the benefit of those who do not, I wrote today's article to show you how it's done.
For this tutorial, I used Silhouette Studio version 2.8.16d but you can definitely follow along and do the same thing with any other versions of the software, including the new version 3. In fact, you don't even need the Designer Edition for this tutorial since you will not be using any SVGs.
There are many images in the dingbat file but I will start by showing you how to convert one of the simplest image- the pumpkin. Once you get the idea, converting the other images will be a breeze.
Step 1:
Click HERE to download the MTF Sweet Halloween Dings file onto your computer. Install the dingbat.
Step 2:
Start Silhouette Studio. If the program was opened when you install the dingbat, please close and restart. This will refresh the fonts and dingbats in the software so that the newly-installed dingbat will show up in the program's font list.
Step 3:
Using the Text Tool, select the dingbat as the font to use, and type the letter "X" on your keyboard to bring the pumpkin image onto the Silhouette virtual mat.
Step 4:
Ungroup the image to remove its text properties and also to allow it to reflect its actual size.
Step 5:
Right-click and use "Release Compound Path" so that all the cuttable parts are separated.
Step 6:
Drag the bottom-most (and the largest) shape out from the rest of the image. This will be the base layer.
Step 7:
To create the Face Layer, first select the eyes, mouth, and face. Next, right-click and select "Make Compound Path".
Step 8:
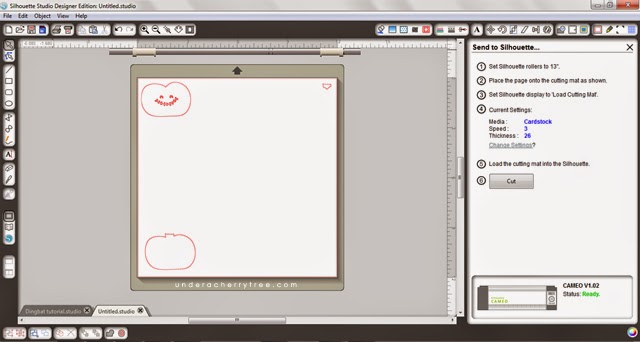
Cut the layers with your Silhouette machine and assemble the pumpkin!

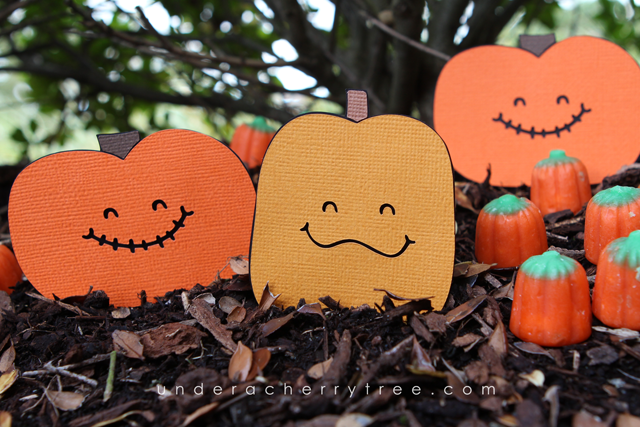
In traditional paper-piecing (paper layering) the edge of the base layer is usually flushed with the layer that is on top of it. You may notice that that is not the case for this pumpkin - the base layer is slightly larger than the face layer. The larger base results in a border around the finished layered image, giving it more definition and thus enhancing the overall appearance (read: making it look even cuter!). I call it the "Outline effect". ;-)
By the way, in order to make the cut look even better, I used a 0.015" offset of the eyes and mouth to make the face layer. This makes the layer less intricate and easier to cut. It also makes the expression of the pumpkin stand out even more.
After you have cut out the layers for the pumpkin, just adhere them together and use the assembled piece for a card or any other paper projects that you have in mind.
The pumpkin from MTF Sweet Halloween Dings is one of the easiest image to convert into a cuttable file. There are several other images in the dingbat that looks complicated but are just as easy to convert. I'll elaborate on that in a later post. :-)
====
UPDATE:
Part 2 of this tutorial is now available HERE.
====


Thank you Jin! Will be waiting for part 2
ReplyDeleteThank you so much! I can't wait to see some of the more elaborate pieces!
ReplyDeleteThank you!
ReplyDeletePerfect! But the mommi is so hard to make. I would Love to know how to make it
ReplyDeleteYou make it look so easy.....I am going to give it a go.
ReplyDelete