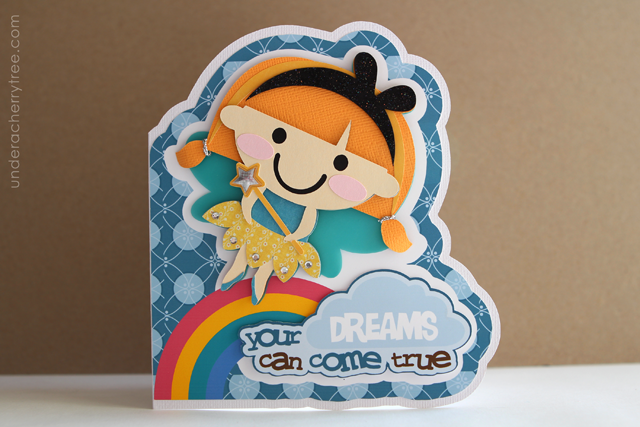
When you wish upon a star
Your dreams come true
Your dreams come true
-When You Wish Upon a Star
From "Pinocchio"
From "Pinocchio"
I was tickled when I saw that LD had made a Pinocchio-inspired collection, Conscientiously, earlier in March. I love the story of Pinocchio (and use it often to scare the kids so they don't lie. *snicker* ). As soon as I downloaded the files (see how you can get them free HERE), I dragged-and-dropped several SVGs from the Cut It set into my Silhouette Studio DE virtual mat. I tried to design a card with them and ended up using the fairy as the main subject of today's project.
For the most part, this card was made in the same way as my other shaped cards that I had previously posted (click HERE or HERE for an example) but instead of using print-and-cut on the entire card base, I chose to print only the card front and adhere that onto a separate base. This is because my card is relatively large and the card base was too big to fit inside the cuttable area of the print-and-cut virtual mat.
I also print-and-cut the sentiment but the fairy was cut out from different colored cardstock and the layers pieced together. For added dimensions, the fairy and the sentiment were adhered onto the card base with foam tape.
Here is the finished card:
Files used:
Conscientiously Cut It set
Conscientiously Paper Pack
Rain or Shine Cut It set


I LOVE your cards!!! I think this one is one of my all time favorites!!! I want to see if I'm getting this figured out...were the steps of your card base: place fairy & sentiment, offset, weld offset with rectangle, offset, fill that offset, add rainbow, offset, copy flip & weld to create the actual base?? Thanks for sharing!!!!
ReplyDeleteThanks,
Nancy
The Apple Basket Teacher
That sounds about right except for the last part-->> ...do not fill that offset but add rainbow, copy, flip, weld, offset to make the card base (hence you get a border only around the 3 sides of the card), paste in front, fill background and send to back.
Delete