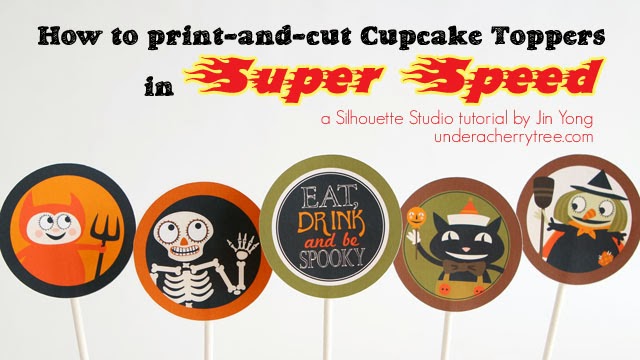
Halloween is coming and that means we will be having the first classroom party of the school year soon. Cupcakes are the must-haves in any parties and today's tutorial will help you to dress them up quickly. I'm going to show you how you can use Silhouette Studio to print-and-cut cupcake toppers quickly.
To follow this tutorial, you will need:
- Jin's template for 2" cupcake toppers. I have made this as a free download and you can find the link at the end of this post.
- graphics designed for cupcake toppers. For this tutorial I am using Lettering Delights' Halloween Town Party Printables (only $1 during the Monster Sale!)
Even though I am not using any SVGs in this tutorial, you will need Silhouette Studio Designer Edition to follow along. The reason is explained in my YouTube video below.
Now let's get on with the tutorial:
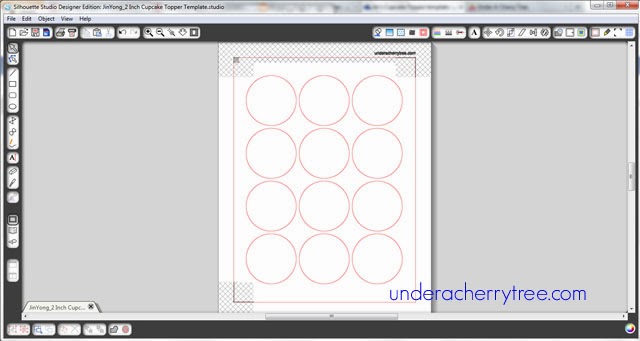
After downloading the template, just open the file in Silhouette Studio.
Locate your graphics and drag-and-drop to fill the template and you are ready to print-and-cut.
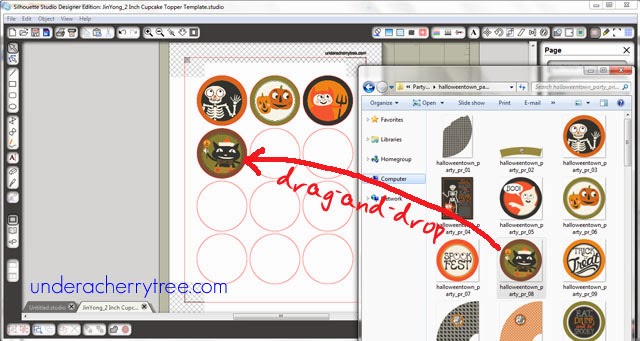
Seriously, that's it!
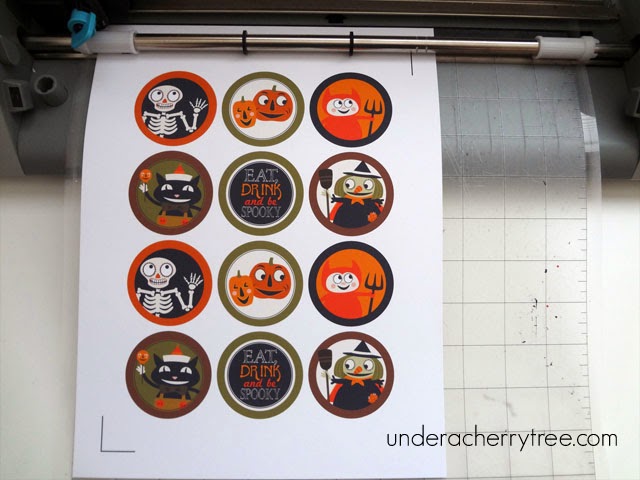
I have designed the template so that twelve 2" cupcake toppers fit on a letter-size page. There is no tracing required as all the cutting lines are already in place. There is also no need to resize the graphics because the template is designed for 2" toppers. You also don't have to open the Cut Style window to turn on the cutting lines because the cutting lines on the template are already set to cut.
Once you have filled the page, just click on the Send to Silhouette button and follow the instructions to print, and then cut!
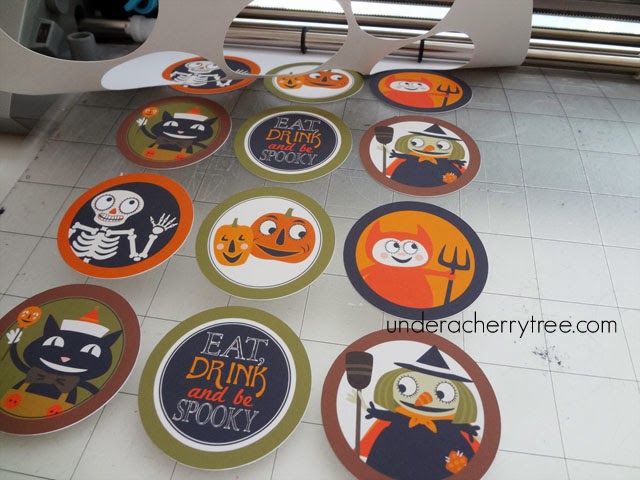
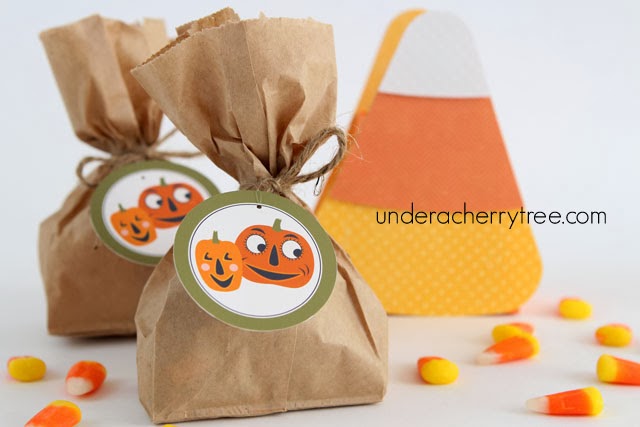
I hope that my template and tutorial will make it easier for you to get your cupcakes party-ready. You can also use these cupcake toppers to dress up your treat bags or even make stickers. Just print-and-cut on sticker (or adhesive-backed paper).
For those of you who prefer to watch this tutorial in video mode, here is a video tutorial:
http://youtu.be/39jmY8kerEM
To get your free template, just click HERE.
UPDATE:
Here are some other LD files that you can use with the template:
Halloween:
Halloween Town Party
Frankly Frank
Monster-licious Cupcake Toppers
Spooktacular
Frank's Friends
Baby Shower:
Baby Z Shower
Snips and Snails Baby Shower
School:
Old School
Party Back to School
Valentine's Day:
I'm Your Ally Cupcake Toppers
Kissing Booth
New Year:
Happy New Year 2013 Printables
Happy New Year Printables (2012)
Birthdays and more:
Z Best Party Printables
Superhero Party
For Peep's Sake Party Printables
Oscar Party Printables
Hipster Party Set
Mommy and Me Icons
Mad Tea Party Printables
Rockets Cupcake Toppers and Bottle Wraps
You're a Doll
Mad Scientist's Party
Rootin Tootin Cowboy
Royal Wedding Pennants Toppers
Cupcake Flair Toppers
Dad is Tops Cards and Bag Kits
Ninja Kicks
Heartland Pride

Jin - thanks for the tutorial. My question is, can you use the svg files to drag and drop? Or do I have to purchase the graphic files?
ReplyDeleteHi Patti, I didn't try the drag-and-drop with SVGs so I can't say for sure. If you managed to use SVGs with the template, can you let me know? It'd be cool if it did.
DeleteThanks you so much Jin....Fantastic
ReplyDeleteThanks, DebraAnn! :)
DeleteThis is great! Do you know if they have a 2" round topper for Christmas? Thank you!
ReplyDeleteI've updated the post with a list of LD files that you can use with the template but I didn't managed to find any for Christmas. :( I'll ask LD and see if they can come up with something. :)
DeleteYou are awesome... thank you!
DeleteHow in the heck have I missed that you could drag and drop?!?!? You are awesome!
ReplyDeleteI drag-and-drop my graphics into the shapes to save time. It's a cool feature! :)
Deletejust a little clarification please, once you have filled the page wouldn't you send it to printer first instead of send to silhouette?
ReplyDeleteInstead of clicking on the Print button and then the Send to Silhouette button, just click on the latter. The instructions that show up on the side will direct you to print, and then cut. You are saving one step in the process (by not having to click on the Print button). Does that make sense? :)
DeleteJin, you are so awesome!! I wanna be you when I grow up!!
ReplyDeleteLOL! Thanks, Kimbo! :)
DeleteThank you! Awesome tutorial and great file you shared!
ReplyDeleteThank you Jin !!!! Could you talk LD into coming up with some graphics for 2 1/4" buttons also!!!!!!!!!!! I have been making my own templates for the past year for my 1" button machine, but I recently sold that and just got the 2 1/4" button machine. I also, never knew about the drag & drop feature !!!! You are amazing :)
ReplyDeleteHi Janie, you can use the circle graphics with your 2 1/4 button templates too. Just drag-and-drop the same way and the graphic will adjust itself to the size of the buttons. :)
DeleteHello i dont know how to download the circle template? when i click download its says Adobe Reader could not find the file?
ReplyDelete